Done-for-you authentication with Stytch
In this post, we'll take a look at how to integrate Stytch into an existing application for authentication.
As I was putting together my slides for my talk at WordCamp Phoenix next month, I realized that I wanted an interactive demo that people in the audience could use to test out the differences between some of the AI models that I would be showing on stage.
That's when I discovered that Vercel had published a template for a chatbot that already handled a huge portion of the chat interface and logic. After cloning that and realizing it was a very full-featured template, I knew I had a great start on what I needed.
Why Stytch?
The motivation for replacing the existing NextAuth.js with Stytch was two-fold.
Firstly, I had never used a hosted authentication platform before (as there aren't usually easy integrations into the platforms I build on) and I wanted to see how integrating one here might help speed up the timeline for building and deploying something like this.
Secondly, and perhaps a more direct motivation, is that I'm going through an interview loop with Stytch and wanted a real, working project to be able to show as a demo.
So now that I had my project defined, it was time to dive in.
Getting Started
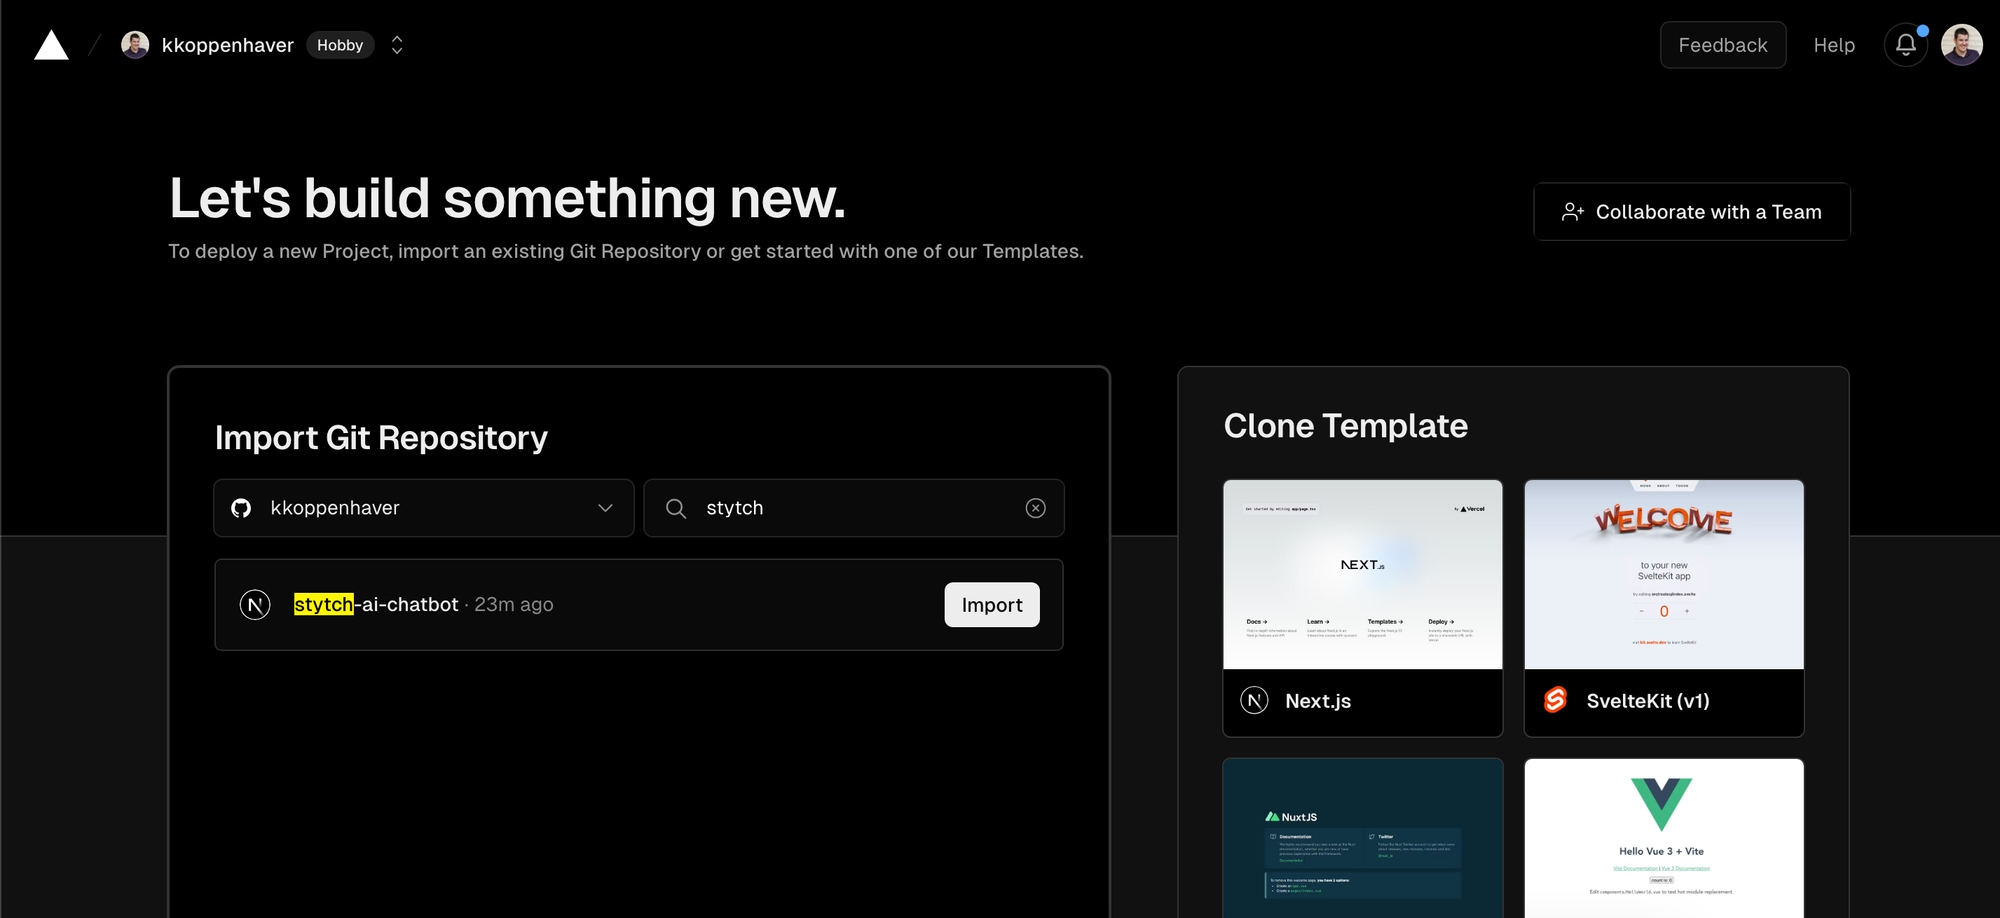
This project had a few prerequisites, but was relatively straightforward to get up and running. First, I forked the GitHub repository into my own account and cloned it down locally.
To get things fully working locally, I needed to log in to my Vercel account (if you don't have one, you can create one for free!) and create a new project. After pointing it to my forked GitHub repo and double-checking the project settings your project will be configured in Vercel!
Since we don't have our environment variables set, our initial deployment will fail. To get these environment variables configured in Vercel, we'll need to grab an OpenAI API key, configure Vercel KV storage (so our application can remember our chats) and make sure all the environment variables from our .env file are populated in the Environment Variables section for your project.
At this point, the project is still using NextAuth.js, but getting all these settings configured properly will allow us to deploy the application through Vercel and see that it's working!
Integrating Stytch
Now that the project is running as-is, we can move on to integrating Stytch for authentication. This will allow us to use all sorts of login methods (magic link, OAuth such as Google, GitHub, etc, and more) and make sure that users of our application can be authenticated easily and securely.
NOTE: I've pulled ideas and some of the code from Stytch's Next.js sample application, so definitely use that for inspiration.
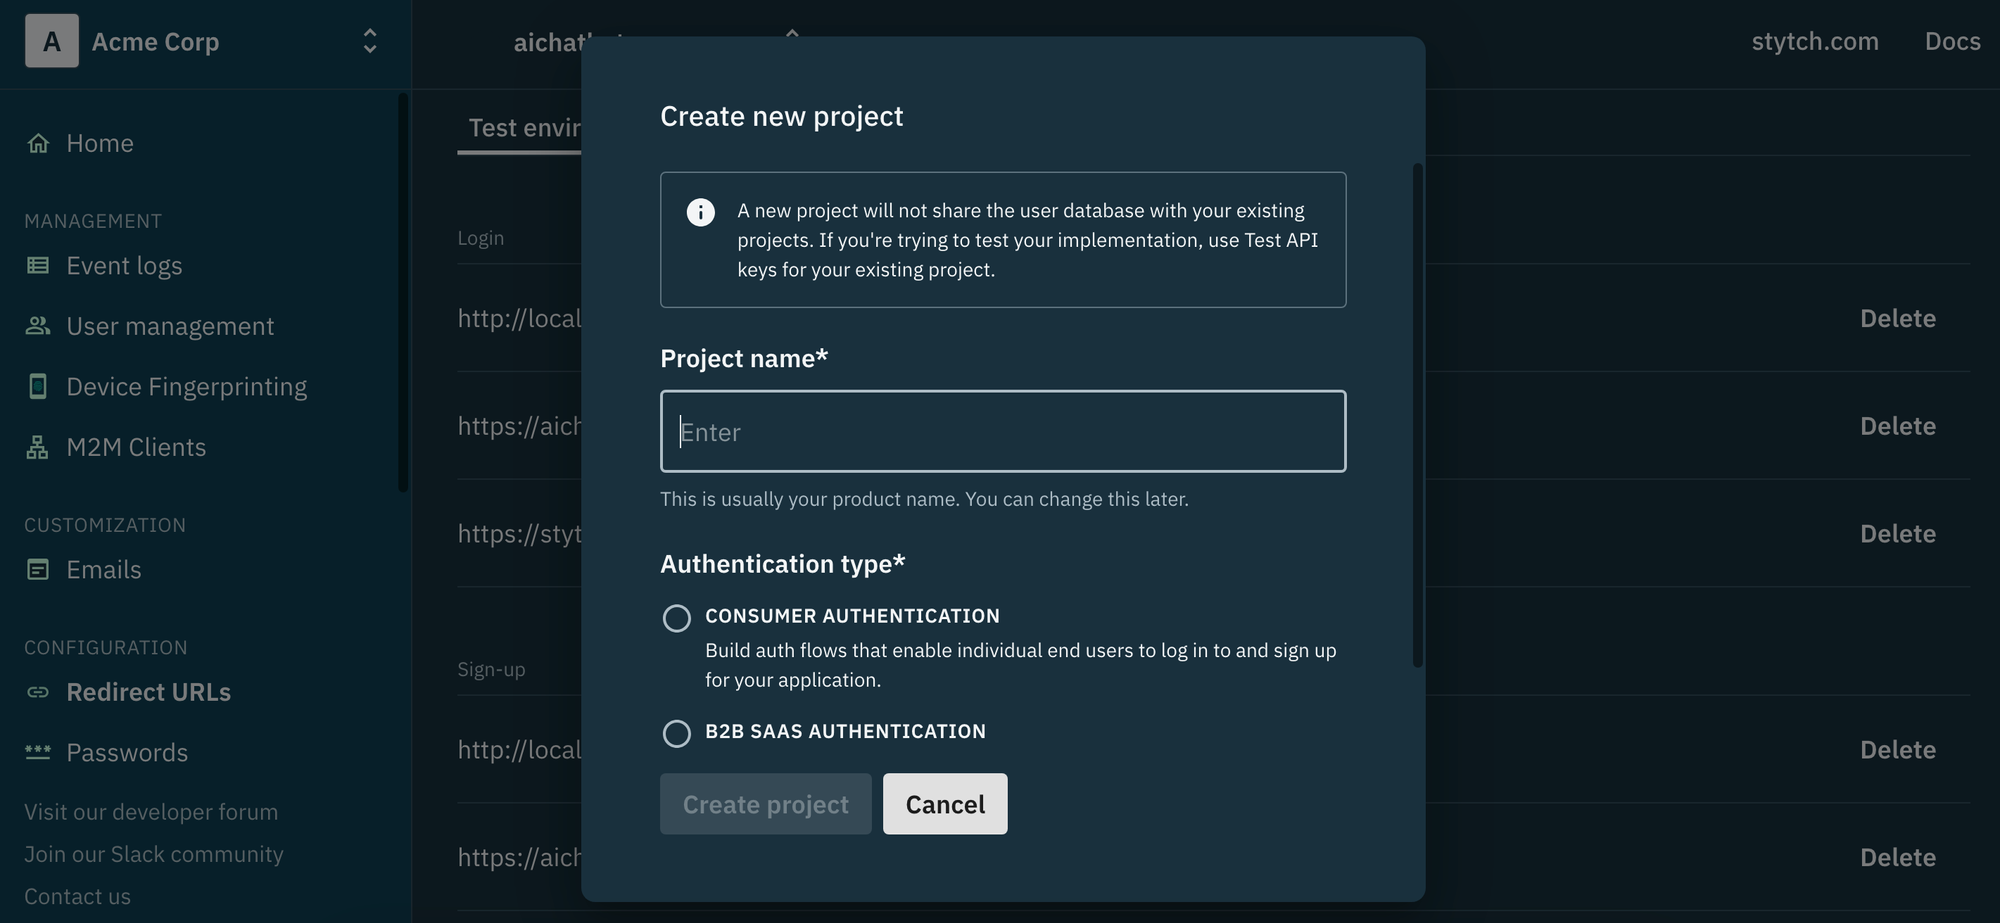
If you don't already have a Stytch account, you can sign up for free. Once you are logged in to your account, create a new project. Choose "Consumer Authentication" as the Authentication Type because we want individual users to be able to sign up and log in to our application.
Once your project has been created, double check your Redirect URLs to ensure that they have both your localhost URL (where your application runs locally) and the domain that Vercel assigned you so that Stytch will work in both places.
Next, configure your Frontend SDK settings to include your local domain and your Vercel domain, as well as your "Authentication products" to include the login methods that we're going to use. In this example, I have Email Magic Links and OAuth enabled, which will allow our users to log in with their existing Google and GitHub user accounts.
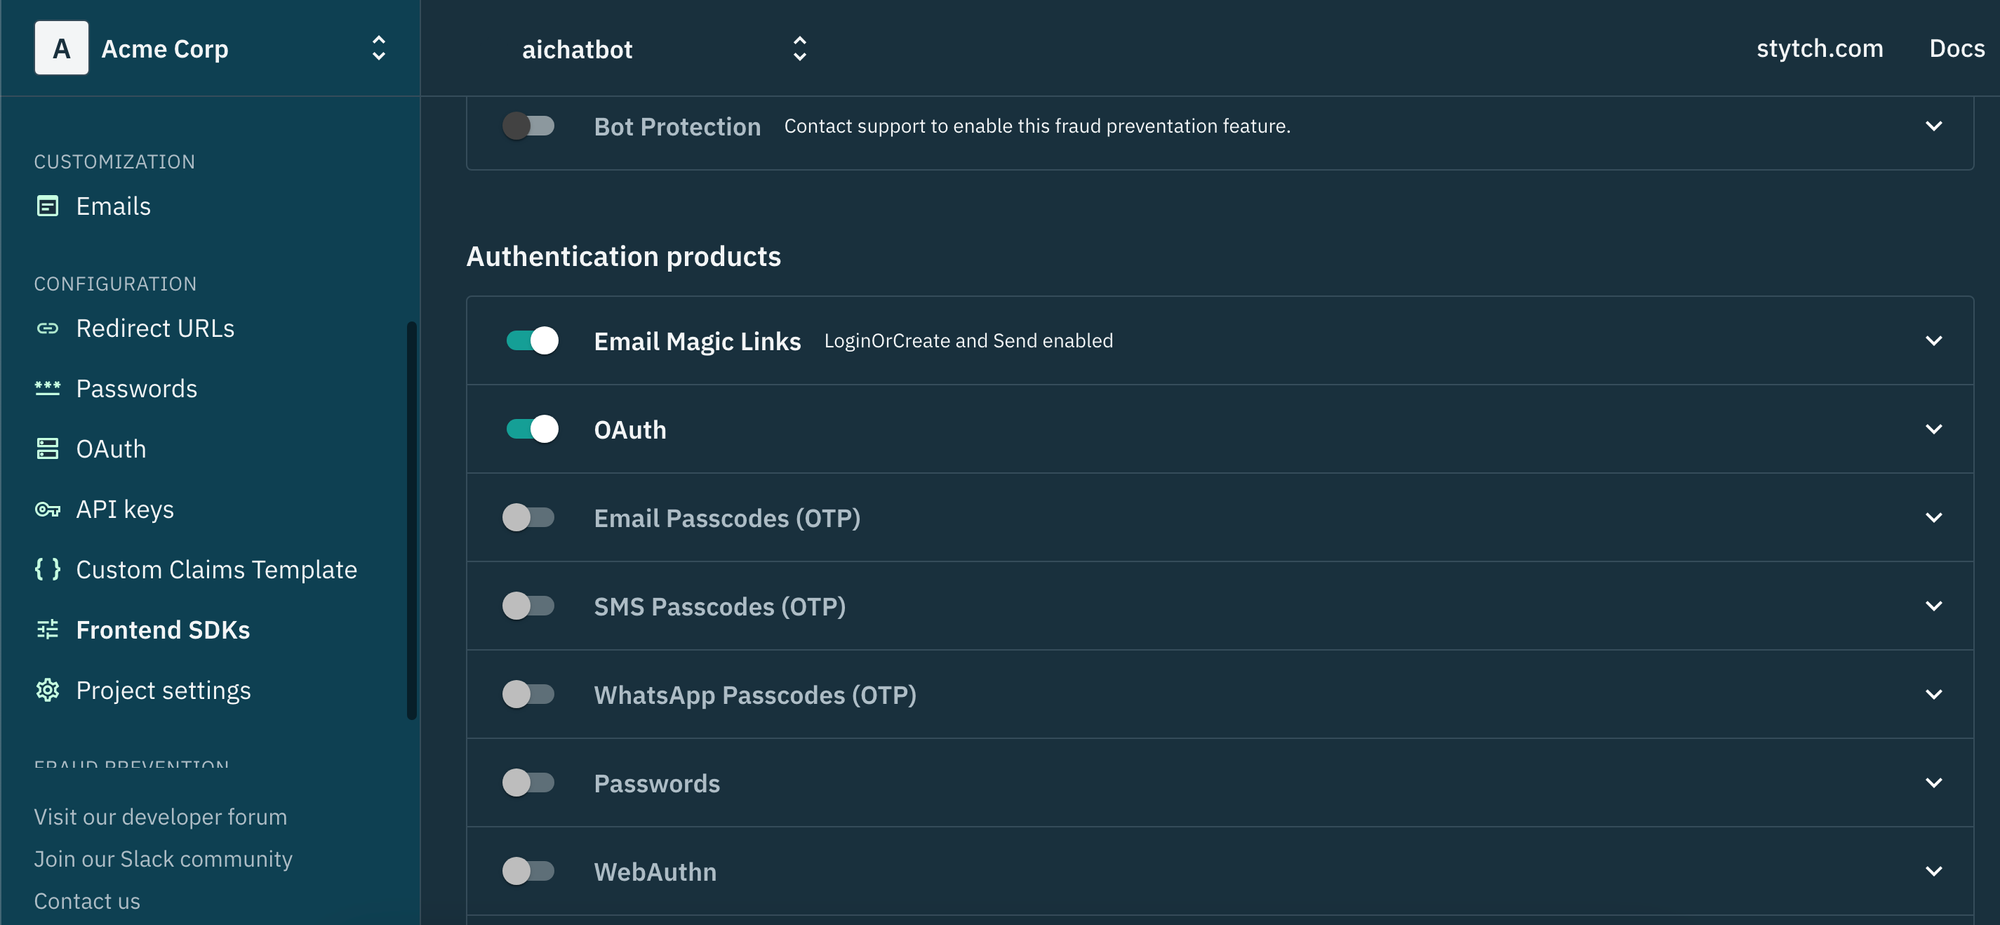
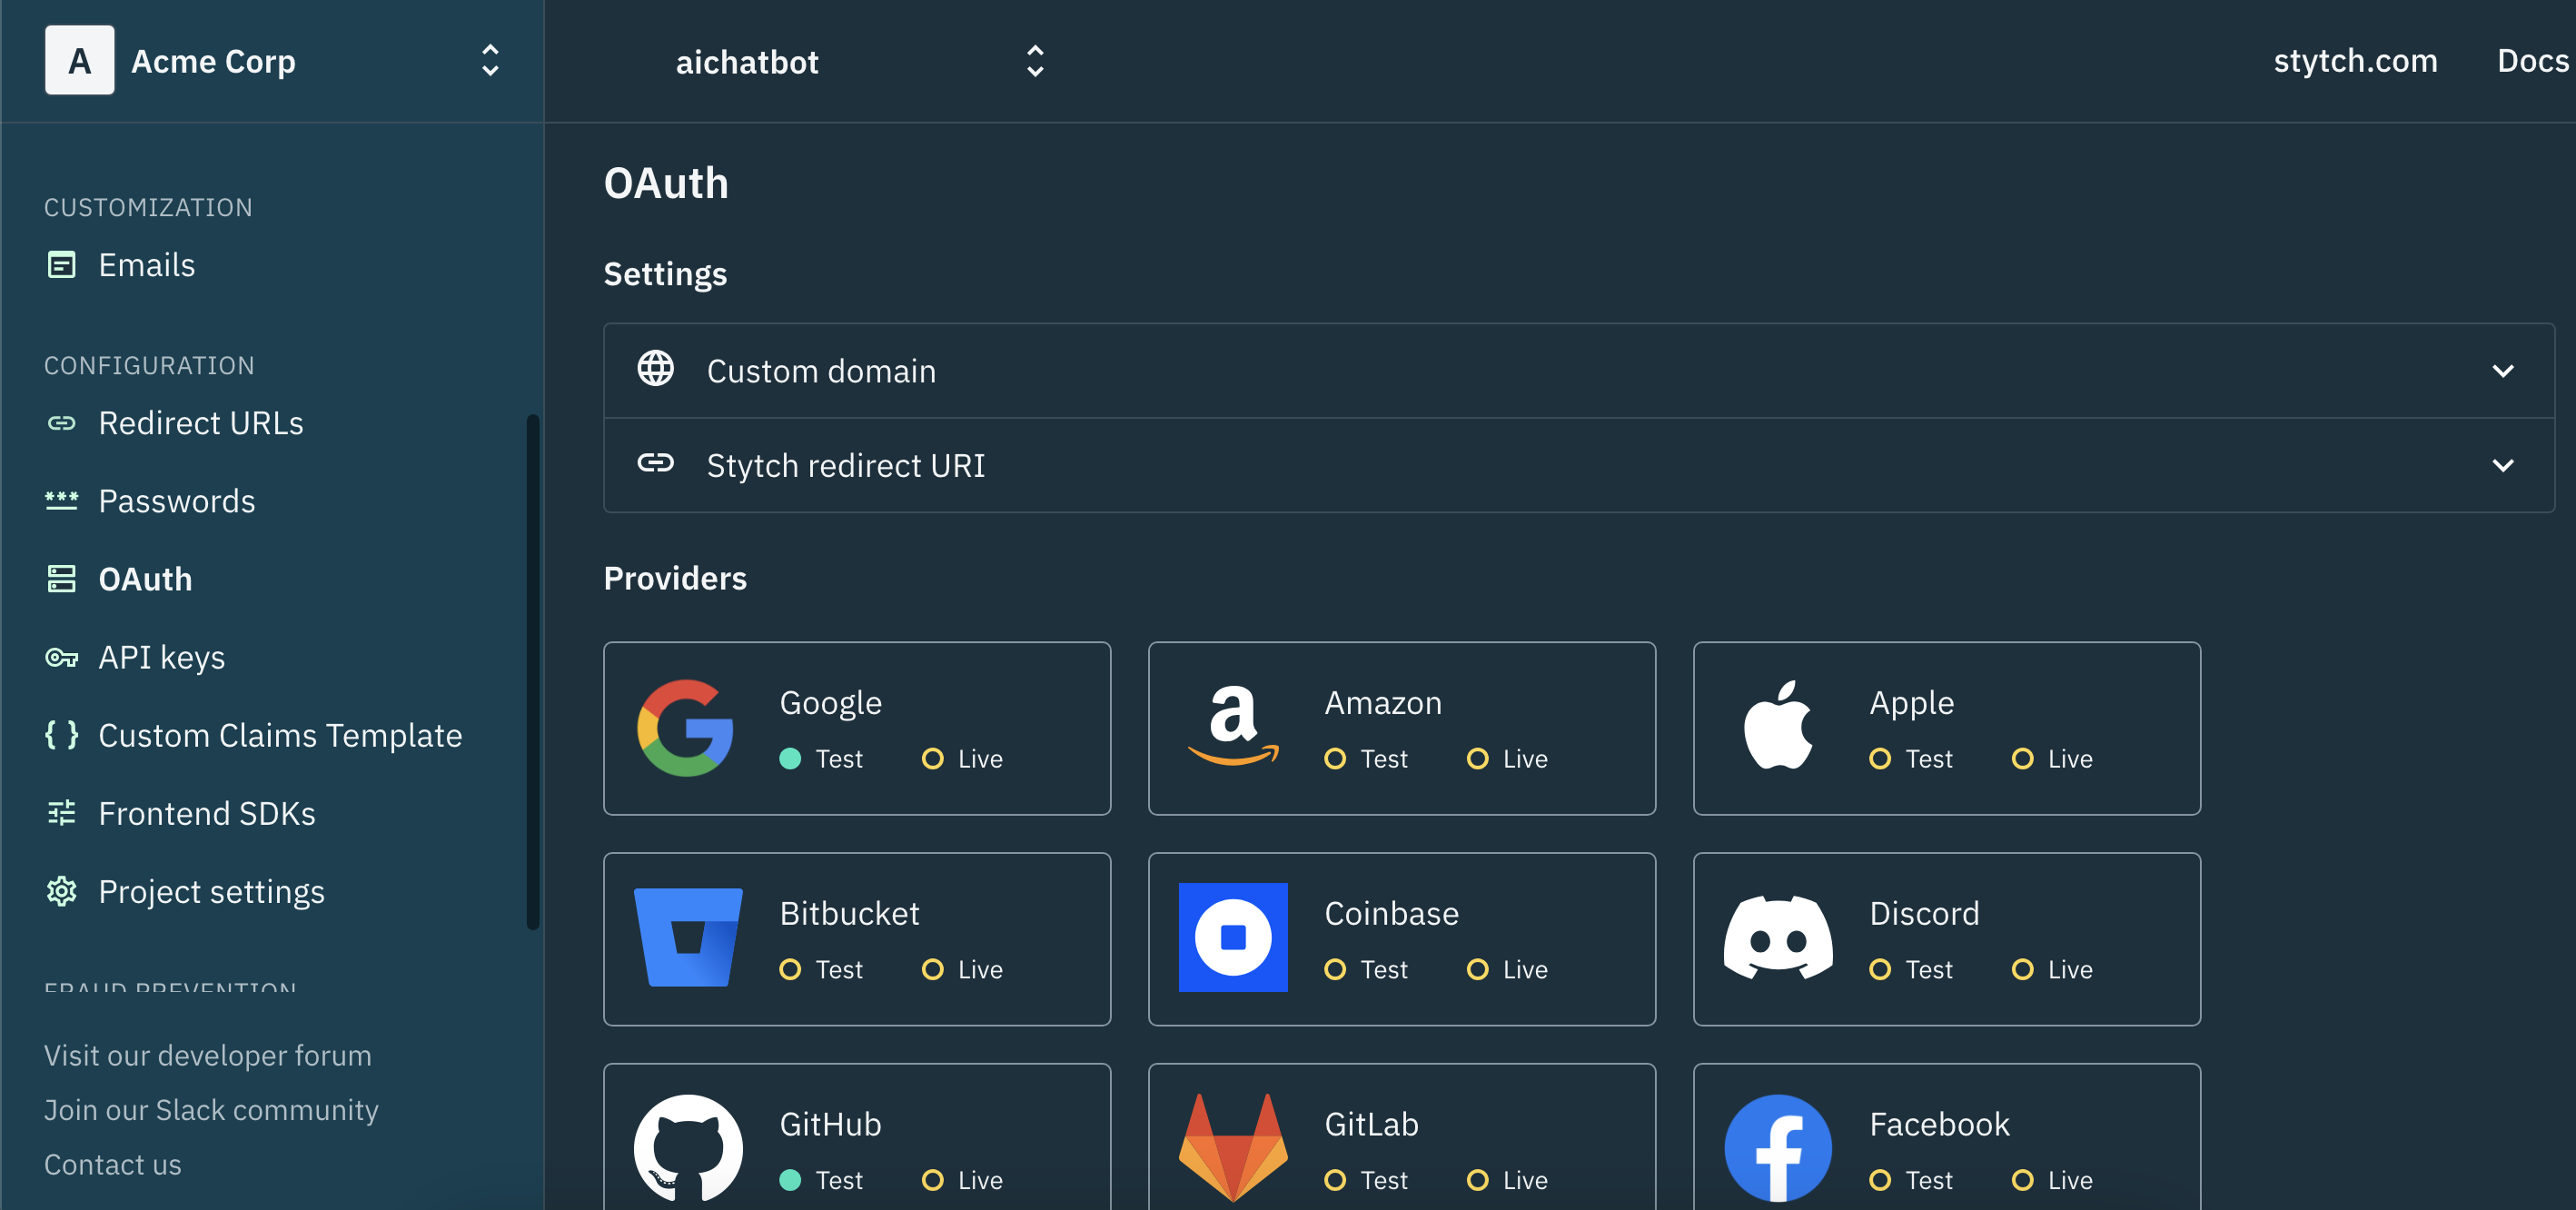
Speaking of logging in with those other accounts, once all the rest of these settings are configured, head over to the OAuth settings screen to configure any of the specific OAuth providers you want to use in your application. I've chosen Google and GitHub, but Stytch has a ton of options that you can integrate.
Updating the codebase
Now that Stytch is configured, the codebase needs to be updated to use it. To see all of the updates, or to run the Stytch-enabled version yourself, you can check out the GitHub repo. But we'll take a look at some of the customizations here.
Creating a Login screen
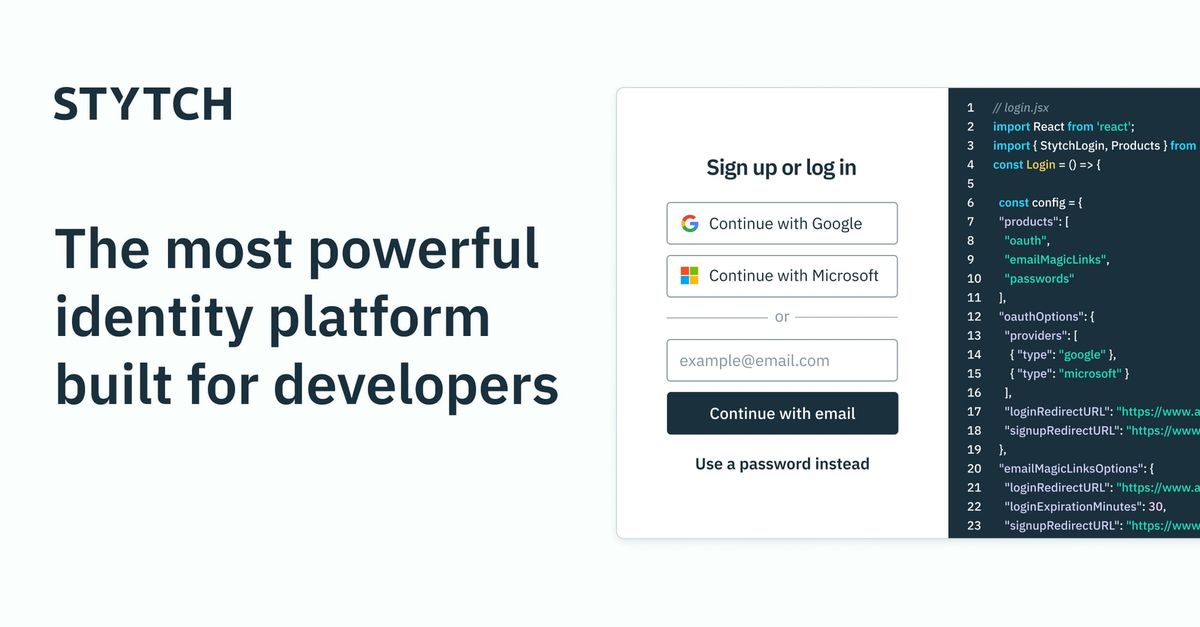
The Vercel repo just has a simple "Login with GitHub" button for a user who wants to authenticate, but I wanted to provide something a little nicer and with more options in case a user didn't have a GitHub account. Luckily, Stytch works great for this. In our case, since this is a Next.js application, we can use Stytch's Next.js package, which makes creating a login screen as easy as passing a set of configuration options to the StytchLogin component.
import React from 'react'
import { StytchLogin } from '@stytch/nextjs'

import { Products } from '@stytch/vanilla-js'
import { OAuthProviders } from '@stytch/vanilla-js'

import { getDomainFromWindow } from 'lib/utils'

const Login = () => {
  const styles = {
    container: {
      width: '600px'
    },
    buttons: {
      primary: {
        backgroundColor: '#000000',
        borderColor: '#000000'
      }
    }
  }

  const config = {
    products: [Products.emailMagicLinks, Products.oauth],
    emailMagicLinksOptions: {
      loginRedirectURL: getDomainFromWindow() + '/authenticate',
      loginExpirationMinutes: 60,
      signupRedirectURL: getDomainFromWindow() + '/authenticate',
      signupExpirationMinutes: 60
    },
    oauthOptions: {
      providers: [
        { type: OAuthProviders.Google },
        { type: OAuthProviders.Github }
      ],
      loginRedirectURL: getDomainFromWindow() + '/authenticate',
      signupRedirectURL: getDomainFromWindow() + '/authenticate'
    }
  }

  return <StytchLogin config={config} styles={styles} />
In this example, we're allowing the user to log in with either a Magic Email link, or by authenticating with their existing Google or GitHub account. These settings create a log in screen that looks something like this.
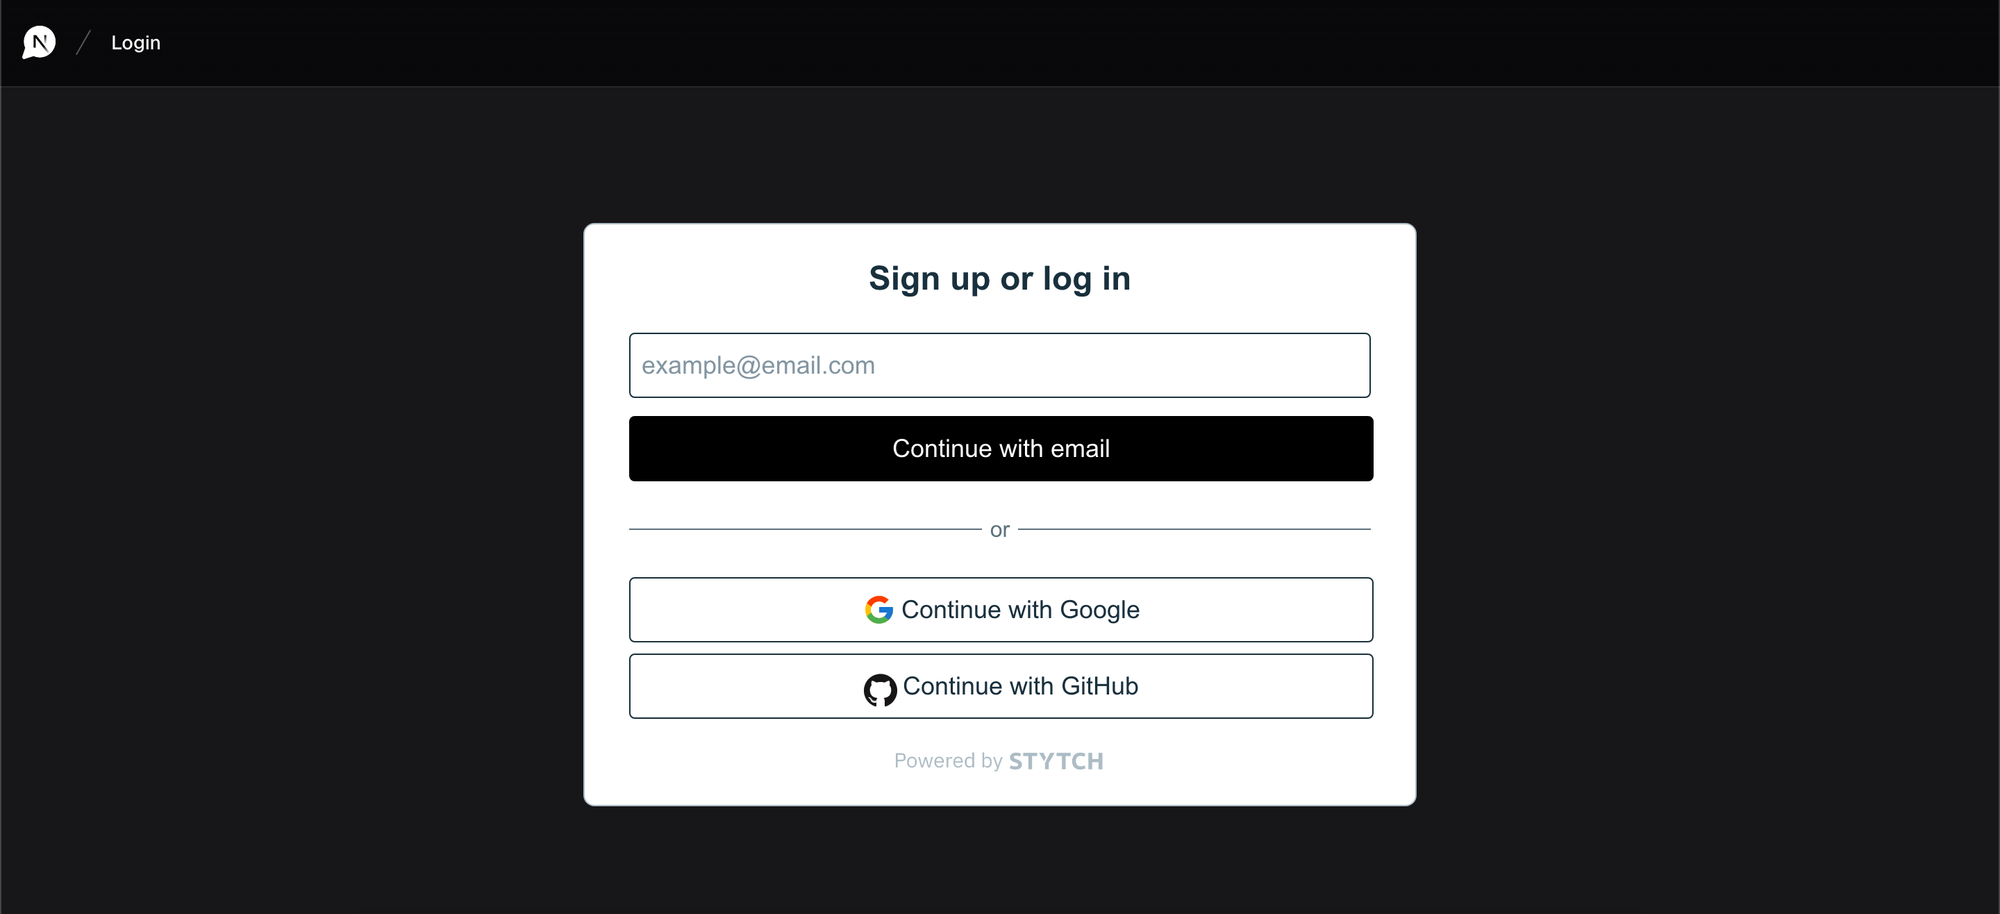
Stytch takes care of either creating a new user if it doesn't recognize the email address or walking through the login process if they're a returning user who has already registered (just more logic that Stytch saves us from handling ourselves!)
Managing session data
Now that users can register and log in, we need to update the app to be aware of who the Stytch-authenticated user is and make sure they are logged in before allowing them to use the functionality of the application. There are two main ways to do this, depending on where you need to authenticate an active user: using the frontend SDK or the backend SDK.
If you need to authenticate a user on the frontend, such as in our main chat interface whenever it's loaded, you can do that by using the @stytch/nextjs package functionality. In this case, we redirect a user who tries to access the chat interface if they're not logged in.
'use client'

import { nanoid } from '@/lib/utils'
import { Chat } from '@/components/chat'

import { useEffect } from 'react'
import { useStytchUser } from '@stytch/nextjs'

import { redirect } from 'next/navigation'

export default function IndexPage() {
  const id = nanoid()
  const { user, isInitialized } = useStytchUser()

  useEffect(() => {
    if (!isInitialized || !user) {
      redirect('/sign-in')
    }
  }, [user, isInitialized])

  return <Chat id={id} />
}
If you need to authenticate a user on the backend, you can do that by loading Stytch on the backend and authenticating their session, like we do before fetching a given chat.
export default async function ChatPage({ params }: ChatPageProps) {
  const stytch = loadStytch()

  const cookieStore = cookies()
  const sessionCookie = cookieStore.get('stytch_session')

  if (!sessionCookie) {
    redirect(`/sign-in?next=/chat/${params.id}`)
  }

  const session = await stytch.sessions.authenticate({
    session_token: sessionCookie.value
  })

  if (!session?.user) {
    redirect(`/sign-in?next=/chat/${params.id}`)
  }

  const chat = await getChat(params.id, session.user.user_id)

  if (!chat) {
    notFound()
  }

  if (chat?.userId !== session?.user?.user_id) {
    notFound()
  }

  return <Chat id={chat.id} initialMessages={chat.messages} />
}
By going through the codebase and swapping out each of the NextAuth.js calls for a session or a user ID with the corresponding Stytch methods, our application is once again working and ready to go, this time using Stytch-managed users.
Some Roadblocks
As easy as Stytch was to get integrated, there were a few roadblocks that I had to work around as part of this process.
Next.js versioning and quirks
One thing that I didn't notice right away when I started folding the Stytch sample code into the Vercel application was that the Vercel app was running the Next.js 14, and a canary version at that, while most of the Stytch sample applications I could find were running Next 13. This led to a bit of confusion when I was looking into documentation and trying to debug some of the errors that I was seeing.
In addition, the Stytch sample application that I was referencing nests most of the components and JS logic underneath the /src directory, while the Vercel application uses the /app directory. As I'm relatively new to Next.js, I didn't realize the implications of that difference, which was something I had to deal with as I was debugging.
Typescript examples
The example Stytch application I was referencing doesn't make use of Typescript, whereas the Vercel application was configured to use it heavily. This made moving code between the two applications a bit more difficult. Upon some further examination, Stytch does have example applications that use Typescript and the Stytch packages do support typing (which I did eventually make use of in my application) but it would be nice to see that called out a bit more explicitly in the documentation.
What's Next?
Overall, getting Stytch up and running was a very easy process. The documentation was straightforward, there are a ton of example applications that you can reference, and there's even a Slack community and developer forum if you need more specific help.
As far as ways this project can be extended, I'm looking forward to adding support for multiple chat models so that users can compare the output of one model to another or use a more-suitable model for specific tasks that they might have in mind. In addition, I'll be introducing some rate limiting so that usage on this doesn't completely blow through my OpenAI credit budget.
One thing that I'm really looking forward to is how easy it will be to add additional authentication methods if there is any demand for those, thanks to Stytch now being plugged into the app.
If you're looking for a way to get authentication plugged into your app so you can get back to working on more interesting features, give Stytch a try today.